Installation Instructions
Choose Your Install Type:
Beaded Ceilings
Traditions Twenty-Four
Second Story
Multi-Story
Videos
Squaring the first board
This brief video will cover the key steps when starting a tongue and groove porch installation. If you don’t pay close attention to make sure that the first board is square, the rest of the porch boards will become increasingly more un-square.
Butt Joint Installation
This covers the essentials when joining two Aeratis boards end to end over a joist. This is typically referred to as a butt joint. Following these steps will keep your joints tight for years to come. Please make sure you do not space the joints like typical composite decking. This is a finished floor for your exterior living space.
Painting Instructions for Traditions
This covers the simple steps for painting your Traditions paint-ready porch floor. The reason you would paint a synthetic porch floor is because you can have the color you want without the maintenance of wood. The paint will bond to the surface and not chip and crack off like it does with wood. This product will not buckle or cup like wood. This product is perfect for historic communities and historic properties. This gives you the look of wood but the guarantee of an engineered product. The best part, the price is competitive to wood.
Installation Resources
 Filling Visible Holes – In some cases you may be forced to use face screws during the installation of Aeratis. To fill these holes, it is best to use a plug maker and make your own plugs and then glue the plugs into place. If you do not have a plug maker, use the following product.
Joist Adhesive – As a best practice we recommend using a joist adhesive in addition to fasteners when installing Aeratis. There are many brands of construction adhesive on the market today. When selecting the best construction adhesive make sure the adhesive is a urethane exterior construction adhesive.
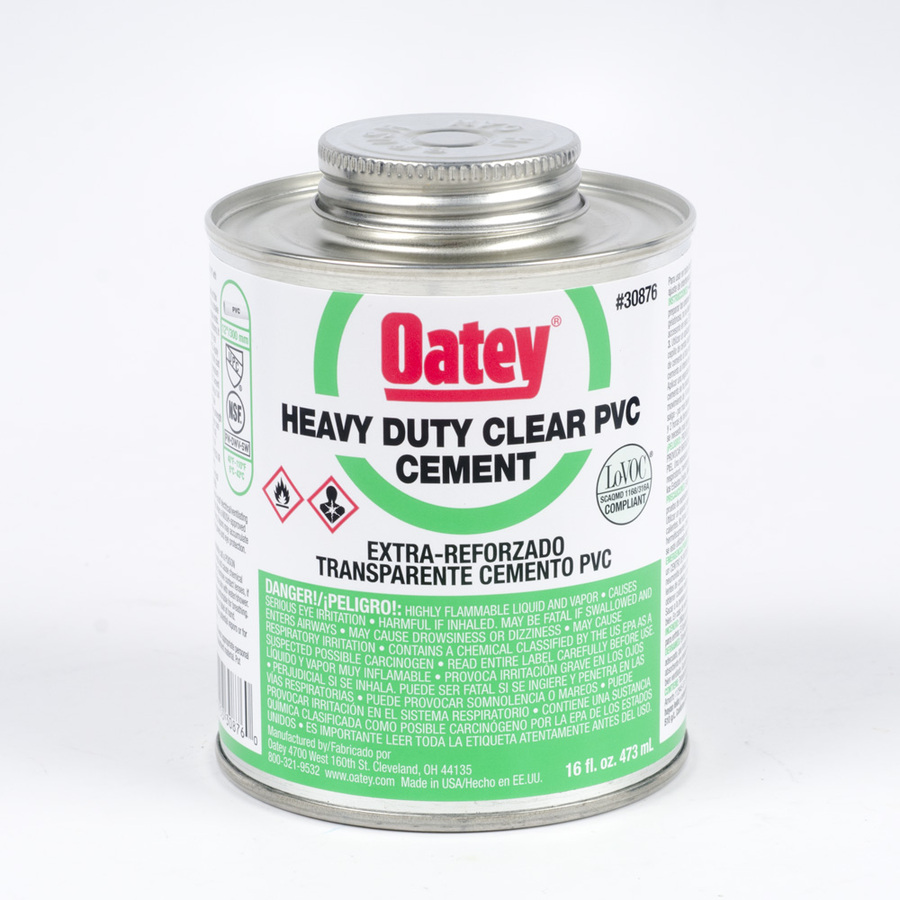
Butt Joint and Adhering Trim – In some cases, during your install you will have to butt Aeratis end to end. Typically, this is called a butt joint. In almost all cases that Aeratis is installed parallel to the house, you will have butt joints. If this occurs these butt joints must be glued together and screws must be used to secure this butt joint. The glue that we recommend is Christy’s Red Hot White Vinyl Adhesive or Oatey Heavy Duty PVC Cement.
Installing Trim –  When installing trim we recommend using a trim head screw every two feet in addition to the Christy’s Red Hot White Vinyl Adhesive or Oatey Heavy Duty PVC Cement. If the right adhesive is used and the trim head screws are used, the trim pieces can be used in almost ALL applications.
Fasteners – As a best practice, it is always best to use stainless-steel fasteners. However, stainless is not required by Aeratis. What dictates the fastener type is what you will be fastening Aeratis to… Check with the wood treaters’ recommendations if you are fastening to wood. All other substrates, a stainless-steel fastener should be considered. For a complete listing of Simpson Strong Tie Fasteners, CLICK HERE.
Waterproof Membrane – When installing Aeratis in a waterproof application, it is best to use a peel and stick membrane that can be penetrated (creates a gasket around fasteners) by fasteners. Currently the best results come from Grace Ice and Water-Shield HT. When creating a waterproof application, know we do not recommend using a floating floor system over the membrane. Treated wood has a tendency to warp and this can occur in a floating application.
More…
Check Out Our FAQ
Don’t worry, there’s a lot to learn. Before getting frustrated, check out our Frequently Asked Questions for answers.


